
Laminate Flooring Installation Tools: What You Actually Need
Choose the right tapping block, pull bar, spacers, saws and prep tools for laminate—then check each item against the exact flooring manual.
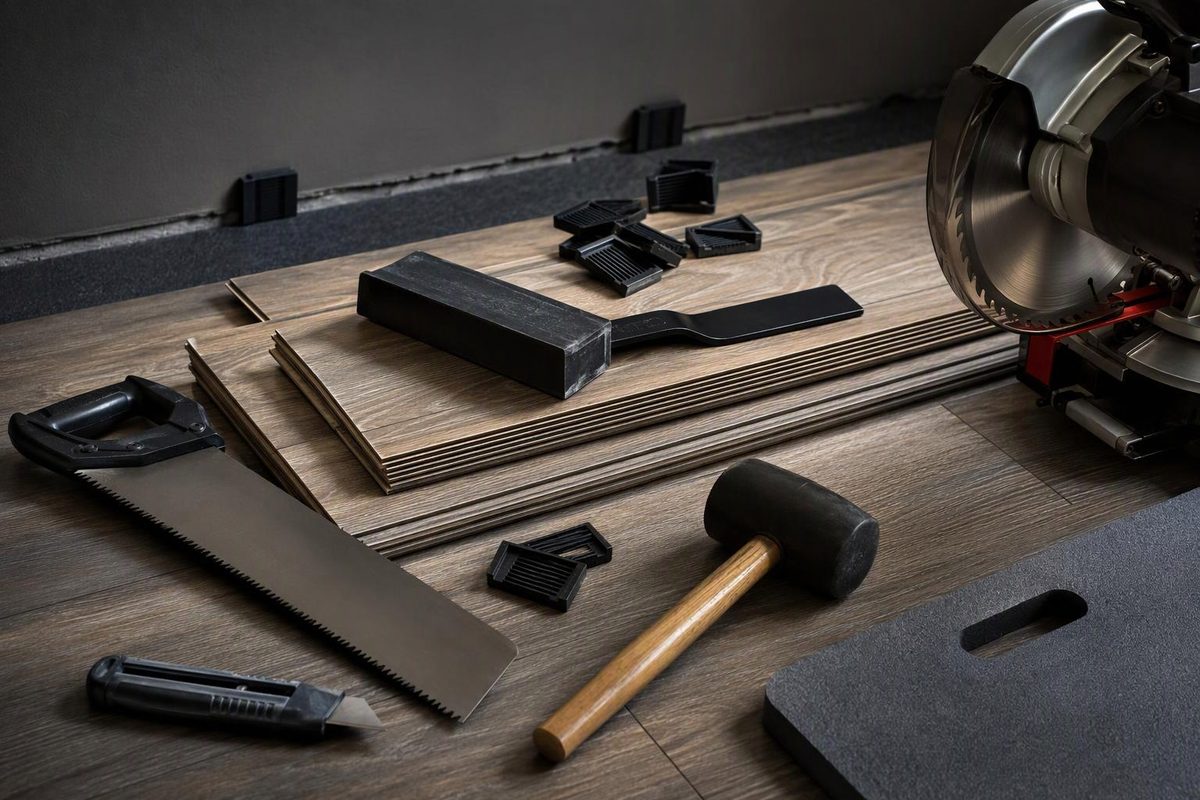
Common laminate installation kits contain three pieces: a tapping block, pull bar and spacers. For example, Quick-Step describes those three items in its installation set. The kit is useful, but it is not the whole tool list—and it may not suit every locking system.
Before buying anything, find the installation instructions for the exact product and collection named on the carton. Locking methods, expansion gaps, moisture tests and permitted accessories vary. Pergo’s July 2026 international laminate guide, for example, calls for a tapping block, pull bar and spacers, but distinguishes between Uniclic and PerfectFold assembly methods. Its expansion-gap requirements also vary with floor size and humidity. The manufacturer’s current guide should override a generic video or kit label.
The three-piece installation kit
| Tool | What it does | What to check |
|---|---|---|
| Tapping block | Distributes light hammer blows when the approved assembly method requires tapping | It must suit the plank’s locking profile. Do not use a scrap block that bears on a fragile tongue or decorative edge. |
| Pull bar | Closes a joint where a tapping block will not fit, usually at the last row or beside a wall | Choose a bar with enough offset to clear the wall without crushing the plank edge. It is not a pry bar. |
| Spacers | Hold the manufacturer-specified movement gap at walls and fixed objects | Use the gap in the product manual rather than assuming there is one universal dimension. |
A tapping block is not permission to force a reluctant joint. Inspect the tongue and groove for debris, damage or misalignment first. Pergo’s 2025 EverCraft instructions say to tap lightly and warn that uneven tapping or excessive force can damage the joint; they reserve the pull bar principally for restricted areas such as the last row. That guide specifies a 3/8-inch perimeter gap for this particular product, lists 5 mm spacers and shows two spacers placed thick-side to thick-side to make the required gap (Pergo EverCraft instructions). Follow the illustrated arrangement rather than assuming one spacer equals the finished gap.
Measuring and layout tools
For a straightforward room, have these ready before opening cartons:
- Tape measure
- Pencil or nonpermanent marking tool
- Carpenter’s square or speed square
- Chalk line or string line
- Long straightedge or level
The square marks crosscuts; the straightedge checks the substrate and guides long cuts. A chalk or string line provides a reference when the starting wall is not straight. Do not use a short spirit level alone to declare an entire subfloor flat. Check it over the distance and tolerance stated in the flooring instructions.
Layout tools also let you calculate the first and last row widths, preserve the required stagger and avoid finishing with a sliver beside a wall. Work out those dimensions before cutting the first plank. The full laminate installation sequence covers substrate checks, row planning and transitions.
Cutting tools: choose by the cut
You do not need every saw, but one saw may not handle every room neatly.
- Miter or circular saw: efficient for repeated square crosscuts. Use a suitable fine, carbide-tipped blade; one Pergo product guide, for example, specifies a 40-tooth carbide-tipped blade.
- Table saw or track-guided circular saw: useful for long, straight rip cuts on the first or last row.
- Jigsaw: suited to curves, pipe cutouts and irregular wall shapes.
- Oscillating multi-tool or jamb saw: useful for undercutting wood door casings so the plank and its movement space fit below.
- Hole saw or drill bit: makes pipe penetrations; size the opening to preserve the product’s required clearance around the pipe.
- Utility knife: cuts underlayment, vapor-barrier sheet and tape—not the laminate plank.
Blade direction matters. Pergo’s 2026 guide advises testing a leftover piece because the decorative face may need to point up or down depending on the saw and blade. A test cut also reveals chipping before a visible plank is wasted (Pergo laminate installation guide). Support the plank on both sides of the cut and replace a dull blade rather than pushing harder.
A manual laminate cutter is an optional convenience for straight crosscuts. It does not replace a jigsaw for notches or a saw for long rips, and its stated thickness capacity must cover the plank.
Subfloor and moisture-checking tools
The most consequential tools may be used before any plank is assembled:
- Straightedge and a suitable gauge for checking flatness
- Vacuum and scraper for cleaning
- Approved patching or leveling tools if correction is needed
- Moisture-testing equipment required for the particular subfloor and flooring product
- Thermometer and hygrometer when the manual sets room-condition limits
Do not buy a generic handheld moisture meter and assume the substrate has passed. Concrete and wood commonly require different procedures, and limits are product-specific. Pergo EverCraft, for example, calls for documented concrete testing under listed ASTM methods and separately requires pin or pinless meter readings for wood subfloors (EverCraft installation requirements). If the required testing or substrate repair is outside the project’s scope, stop before installation rather than treating the click system as the difficult part.
Safety and finishing supplies
Add safety glasses, gloves, hearing protection appropriate to the power tool, knee pads and the respiratory protection called for by the product and tool instructions. Connect dust extraction where the saw supports it and cut outside when conditions permit. OSHA notes that cutting and sanding can make wood particles airborne and that inhalation may cause respiratory symptoms and other health effects (OSHA wood-dust overview).
Finishing may also require a trim-removal tool, caulk gun, backer rod, sealant and transition-profile tools—but only when the exact floor system calls for them. “Water-resistant” laminate does not justify improvising a sealed perimeter. Some products prescribe a specific silicone, tape or molding system; others use different details.
Fasten baseboard or shoe molding to the wall, not through the floating floor. Remove installation spacers when the manual directs. A screw, nail, fixed cabinet or tightly fitted trim can restrain movement even when the original spacer gap was correct.
A practical shopping list
For a plain rectangular room with no pipe penetrations, the usual minimum is:
- Product-compatible tapping block, pull bar and spacers
- Tape, pencil, square, straightedge and chalk line
- Suitable saw with the correct blade
- Utility knife and the tape specified for the underlayment
- Vacuum and required substrate-testing tools
- Hammer and specified PPE
Add a jigsaw and drill for pipes or irregular cuts, an undercutting tool for door casings, and the prescribed moisture-barrier and perimeter-sealing accessories only after checking the manual. If the cartons are Pergo, identify the collection rather than assuming all Pergo joints assemble alike; this product-first Pergo guide explains why that distinction matters.