
Installation of Wooden Flooring: A Practical Guide
Identify the wood floor, check moisture, prepare the subfloor, choose an approved installation method, and recognize when the project should stop.
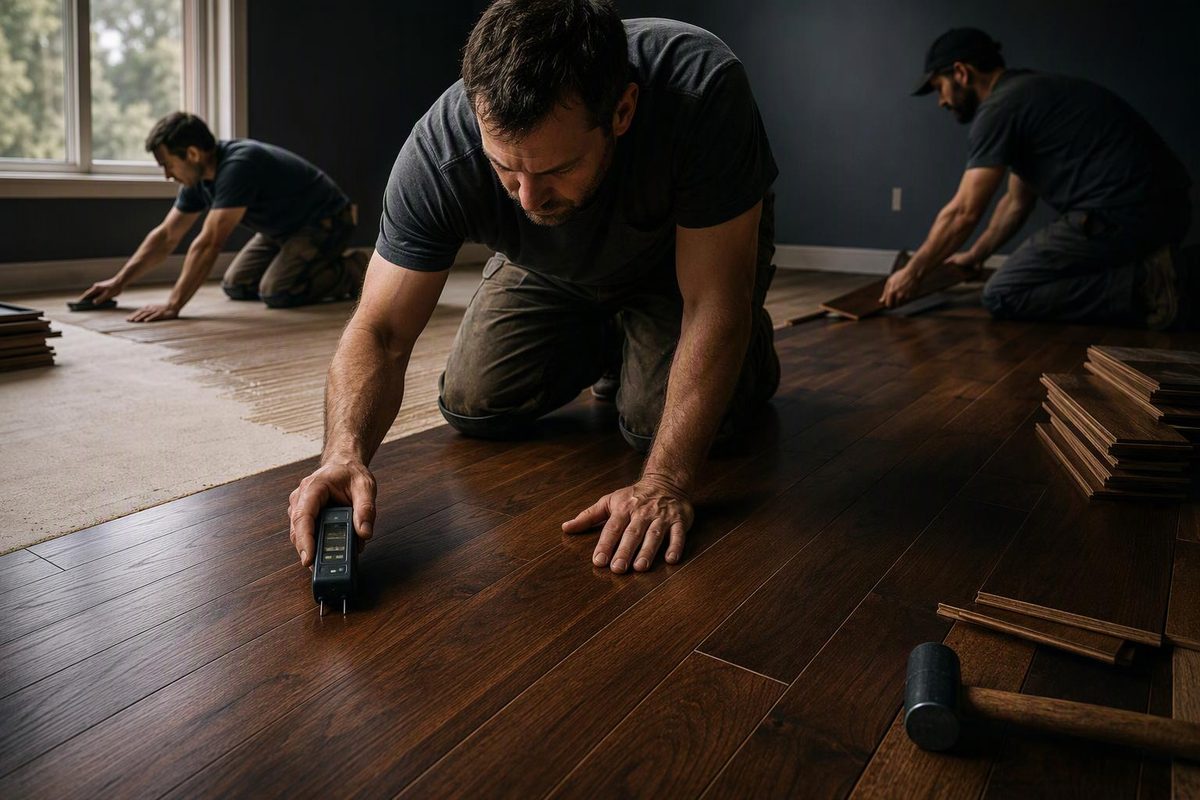
Wood flooring installation starts with the instructions for the exact product—not with a nailer or bucket of adhesive. Solid hardwood, tongue-and-groove engineered wood and click-lock engineered wood can require different substrates, moisture limits, movement gaps and fastening systems.
1. Identify the floor and approved method
Record the manufacturer, collection, model or SKU, plank dimensions and construction. Find the current instructions for that exact product and market; do not copy the requirements for a similar-looking plank.
| Floor and site condition | Method to investigate | Important limit |
|---|---|---|
| Solid tongue-and-groove wood over a wood subfloor | Nail or staple | Confirm grade-level, subfloor and fastener requirements. Do not assume approval over concrete. |
| Engineered tongue-and-groove wood | Nail/staple, full-spread glue or, for some products, floating | The product, substrate and room conditions determine which methods are allowed. |
| Engineered click-lock wood | Usually floating; glue-down may also be allowed | Locking sequence, underlayment and room-size limits are product-specific. |
| Wood over concrete | An expressly approved product and installation system | Concrete moisture results must meet the flooring and adhesive limits. |
| Wood over radiant heat | An expressly approved product and complete assembly | Confirm temperature, operating and moisture requirements before purchase. |
“Engineered” does not mean every method is permitted. Shaw says its hardwood floors can be nailed, glued or floated, but directs readers to the relevant installation guide and notes that the choice depends on the subfloor (Shaw hardwood installation overview). For a closer comparison, see engineered hardwood installation methods and preparation.
Stop if: the cartons and paperwork do not identify the product, or the proposed method does not appear in its instructions.
2. Stabilize the building before acclimation
Before delivery or installation:
- Enclose the building and install exterior doors and windows.
- Complete concrete, plaster, drywall finishing and other wet work, then allow it to dry.
- Correct plumbing leaks, damp crawlspaces and exterior drainage problems.
- Run the permanent heating or cooling system under expected occupied conditions.
- Confirm that temperature and relative humidity meet the product requirements.
Do not treat “leave the boxes for 48 or 72 hours” as a universal acclimation rule. Requirements vary: some products need conditioning until moisture readings are suitable, while others say acclimation is unnecessary or restrict how cartons are stored. Document room, flooring and subfloor readings rather than relying on time alone.
For example, one Bruce click-lock engineered hardwood manual says acclimation is unnecessary but specifies a room temperature of 60–80°F and relative humidity of 30–50% for 14 days before and during installation and until the space is occupied. Those requirements apply to that product, not to every wood floor (Bruce locking-hardwood instructions).
Stop if: indoor conditions are temporary, the basement or crawlspace is damp, or flooring and subfloor readings exceed the limits in the manual.
3. Test and prepare the substrate
A finished surface cannot compensate for a wet, weak or uneven substrate. Inspect the full area, including closets and transitions.
Wood subfloor
- Confirm that panels or boards are structurally sound and adequately fastened.
- Refasten loose areas and investigate movement rather than expecting flooring fasteners to cure it.
- Replace swollen, delaminated or water-damaged panels.
- Sand panel-edge ridges and fill low areas with a patch approved for the flooring system.
- Test the subfloor and flooring with a suitable, calibrated wood moisture meter.
Concrete
- Verify that the flooring is approved for the slab and its grade level.
- Use the concrete moisture-test method required by the flooring and adhesive manufacturers.
- Check for curing compounds, paint, old adhesive, sealers and other bond-breaking contaminants.
- Use grinding, patching and leveling materials compatible with the complete installation system.
“Flat” is not the same as “level.” A sloping substrate may be flat, while a level slab can contain abrupt humps and hollows. Measure with the straightedge length specified in the product manual. As one product-specific example, the cited Bruce instructions require the substrate to be within 3/16 inch over 10 feet or 1/8 inch over 6 feet (Bruce locking-hardwood instructions).
For the broader sequence, see flooring installation from the subfloor up.
4. Plan the rows and movement space
Dry-lay several rows before fastening or gluing. Mix boards from several cartons, distribute natural color variation deliberately and set aside damaged or questionable pieces. Shaw recommends checking color, finish and milling before installation and racking material from several cartons (Shaw hardwood installation overview).
Measure the room at several points. Adjust the first-row width if the final row would be an impractical sliver. Plan for door jambs, hearths, columns, vents, stair noses, fixed cabinetry and required transitions.
Maintain the specified movement gap at walls and every vertical obstruction. For a floating floor, do not pin the assembly with nails, adhesive, fixed cabinets or tight trim unless the instructions expressly allow it. The cited Bruce product requires a 1/2-inch expansion zone when floated and 1/4 inch when glued; other floors may specify different gaps (Bruce locking-hardwood instructions). Fasten baseboard or shoe molding to the wall, not through a floating floor.
5. Use the specified installation system
Nail-down or staple-down
Use the required fastener type, gauge, length, spacing, compressor pressure and edge distance. Establish straight starter rows because an error there grows across the room. If tongues split, fasteners sit proud or boards move, correct the fastening setup before continuing.
Glue-down
Use the named adhesive or an expressly approved alternative. Match the trowel notch to the adhesive instructions, observe open and working times, and replace worn trowels. Work only in sections that can be covered before the adhesive skins over.
Clean adhesive from the finish using the approved procedure while it is workable. Roll the floor if required and observe all cure, traffic and furniture restrictions.
Floating
Use only the approved underlayment or vapor-control layer, treating its seams as instructed. Engage the joints in the specified order with compatible tools. Check alignment frequently; a small deviation at the starter wall can become substantial several rows later.
Do not add generic joint glue, fasteners or a second underlayment unless the flooring manufacturer permits it.
6. Finish without trapping the floor
Fit transitions and trim so they conceal movement gaps without clamping a floating assembly. Rehang doors with clearance for the new floor and any planned rug. Follow the adhesive or finish schedule before allowing foot traffic, furniture, rugs or cleaning, and save labeled planks for future repairs.
If the project needs extensive subfloor correction or professional labor, compare whole-project flooring installation costs rather than pricing only the visible planks.
Safety stop points
Do not sand, dry-scrape, drill, saw or otherwise mechanically disturb unknown existing resilient flooring or asphaltic adhesive. The Bruce manual warns that these materials may contain asbestos or crystalline silica and says asbestos content may need testing before regulated removal or disposal (Bruce locking-hardwood instructions).
Cutting or removing painted baseboards, jambs or trim in a pre-1978 U.S. home can also create lead dust. EPA recommends checking whether lead-based paint is present and using lead-safe practices. The federal Renovation, Repair and Painting Rule generally does not cover owners working in their own homes, but it does apply in situations including rental property, in-home childcare and house flipping; contractors performing covered work must be lead-safe certified (EPA lead-safe renovation guidance).
Bring in a qualified installer or relevant specialist when moisture has no identified cause, the substrate deflects, slab results exceed system limits, radiant-heat documentation is missing, structural work is needed or the intended method conflicts with the product manual.