
Vinyl Flooring: Choose Sheet, Glue-Down or Click-Lock
Compare sheet vinyl, glue-down LVT and click-lock planks, then check moisture, subfloor prep, wear layers and repair options before buying.
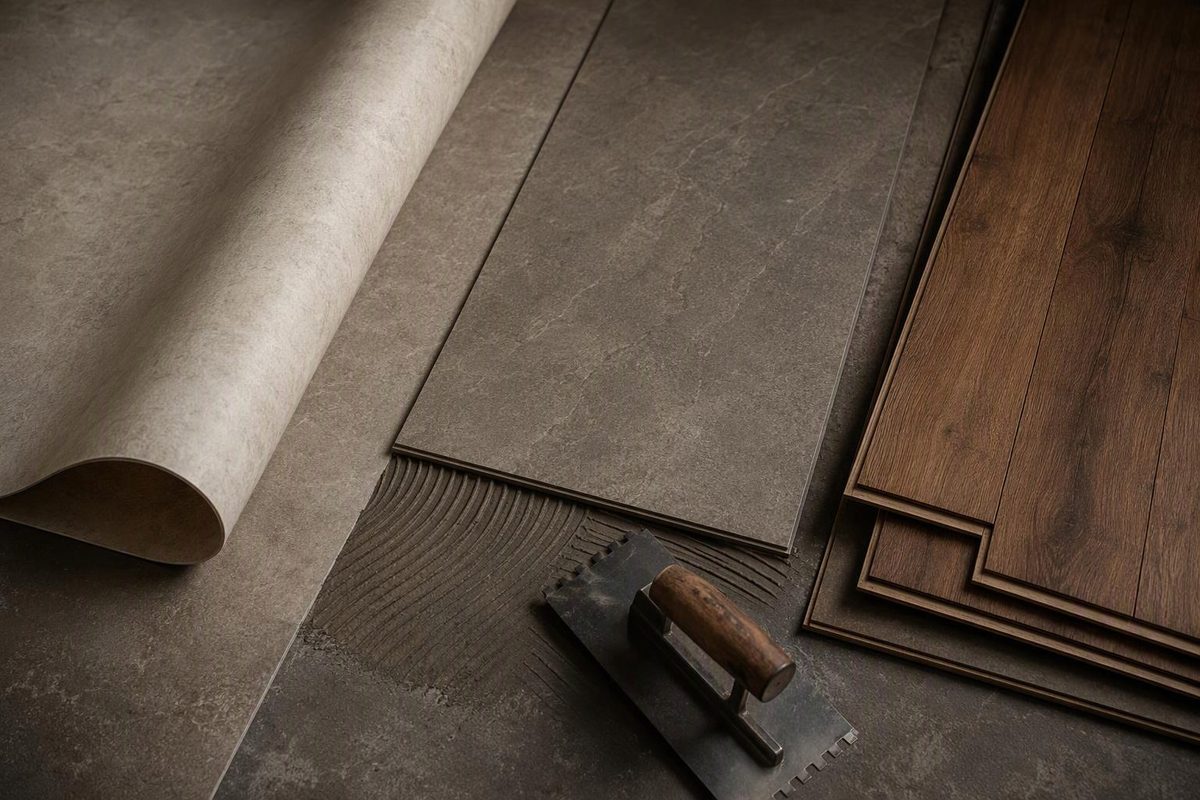
Choose vinyl flooring by construction and installation method, not just the wood or stone pattern. Sheet vinyl, flexible glue-down tiles and rigid click-lock planks need different preparation and offer different repair options.
Start with four questions: Does the room have spills or an unresolved moisture problem? What is underneath the existing floor? How much preparation is needed? And how would you repair localized damage?
1. Identify the vinyl flooring system
LVP means luxury vinyl plank; LVT means luxury vinyl tile. Those labels describe the format, but do not reliably tell you how the floor attaches. Check the exact product’s installation manual.
These are three common systems to compare:
| System | Why consider it? | What must be checked? |
|---|---|---|
| Sheet vinyl | Wide rolls reduce the number of seams; useful when fewer joints are a priority. | Room width, pattern matching, seam treatment and the approved loose-lay or adhesive method. |
| Flexible glue-down LVP or LVT | Separate pieces allow a modular layout rather than a continuous sheet. | Substrate smoothness, adhesive compatibility, moisture limits and curing restrictions. |
| Rigid-core click-lock planks or tiles | A floating installation avoids spreading adhesive across the room when that method is approved. | Subfloor flatness, locking-joint support, movement gaps and restrictions around fixed fixtures. |
Mannington’s sheet-vinyl guide describes wide rolls and several installation methods. Its plank-construction guide distinguishes flexible PVC flooring from rigid SPC and expanded-core WPC products. These are different systems, not interchangeable installation recipes.
SPC versus WPC: Mannington describes SPC as having a solid, stiff core and WPC as having an expanded core with small air pockets. Use those descriptions to shortlist products, then compare their actual indentation, sound and temperature specifications. Neither acronym is a complete quality rating.
2. Separate spills from moisture underneath
For a kitchen, bathroom or laundry room, check both the surface-water instructions and the subfloor requirements.
A waterproof plank does not make a damp substrate acceptable. Shaw’s SPC installation guidelines explicitly warn that excessive subfloor moisture can promote mold, mildew and trapped moisture beneath waterproof flooring.
- Ordinary spills: Compare approved room uses, cleanup requirements and edge details.
- Damp concrete or recurring leaks: Stop and resolve the source before covering the floor. Obtain the moisture tests and limits required for the flooring, adhesive and preparation products.
- Bathroom edges and seams: Follow the specified treatment rather than improvising with generic caulk or glue. For example, Mannington’s March 2026 sheet-vinyl instructions require a particular seam sealer and silicone around listed wet-area fixtures.
For a broader wet-room comparison, see flooring for a washroom by water exposure.
3. Inspect the substrate before choosing the installation
Look for loose panels, bounce, raised joints, adhesive deposits, cracks and low spots. A floor that looks level can still have localized dips or ridges.
Click-lock is not a way to skip preparation. Shaw’s SPC manual requires a clean, dry, structurally sound subfloor with flatness within 3/16 inch over 10 feet or 1/8 inch over 6 feet. Those are requirements for the products covered by that manual—not universal vinyl tolerances. It also warns that soft substrates can compromise locking ability.
For sheet vinyl, substrate joints can show through the finished surface. Mannington’s sheet manual warns about this telegraphing and specifies underlayment or smoothing work according to the substrate and installation method.
Before ordering, record:
- The substrate type and measured flatness.
- Required moisture testing and acceptable results.
- Approved patch, underlayment, vapor-control layer and adhesive, where applicable.
- Finished height at doors, appliances and adjoining rooms.
- Temperature limits, especially for sunny rooms, cabins and radiant heat.
Do not add extra foam or plastic simply because another floor used it. Use the assembly approved for this product and substrate. Then follow either the floating vinyl-plank installation sequence or the glue-down preparation and installation guide.
Stop before disturbing unidentified old flooring
Older resilient flooring and adhesives may contain asbestos. Appearance alone cannot establish whether a material contains it. The EPA’s homeowner guidance advises leaving suspect material alone and having a trained, accredited professional assess it when remodeling would disturb it. Do not sand, scrape, drill or take your own sample of suspect material.
4. Compare wear specifications and future repairs
Overall thickness and wear-layer thickness are different measurements. Overall plank thickness is commonly listed in millimeters; the protective wear layer is commonly listed in mils. One mil is one-thousandth of an inch, so a 20-mil wear layer is 0.508 mm—not 20 mm. Urban Surfaces explains the distinction.
Compare both specifications, plus the surface coating and warranty exclusions. Do not treat a wear-layer number as a promise of scratch-proof performance or a fixed lifespan.
Plan for damage before buying:
- Planks or tiles: Ask for the manufacturer’s individual-piece replacement procedure and keep matching spare material. Do not assume every installation allows equally straightforward replacement.
- Sheet vinyl: Keep matching offcuts. Mannington’s sheet manual includes procedures for sealing small cuts and replacing damaged areas with matching patches.
- Wood-look vinyl: It has a decorative image layer, not a renewable wood surface. Do not approach damage as a hardwood sanding project.
For routine care, remove grit before damp cleaning and use the cleaner approved for the floor. Shaw’s resilient-care instructions recommend neutral-pH cleaners and advise against abrasive cleaners, rotating vacuum beater bars and steam mops for the products covered.
Finally, compare whole-project quotes: flooring, waste or pattern matching, removal, moisture work, smoothing, underlayment, adhesive, trim and labor. Choose the system whose preparation requirements and repair options fit the room—not merely the lowest price printed beside the sample.