
Bathroom Tile Flooring: Choose for Water, Grip and Subfloor
Compare porcelain, ceramic and stone for bathroom floors, check wet traction, and confirm subfloor and waterproofing requirements before ordering tile.
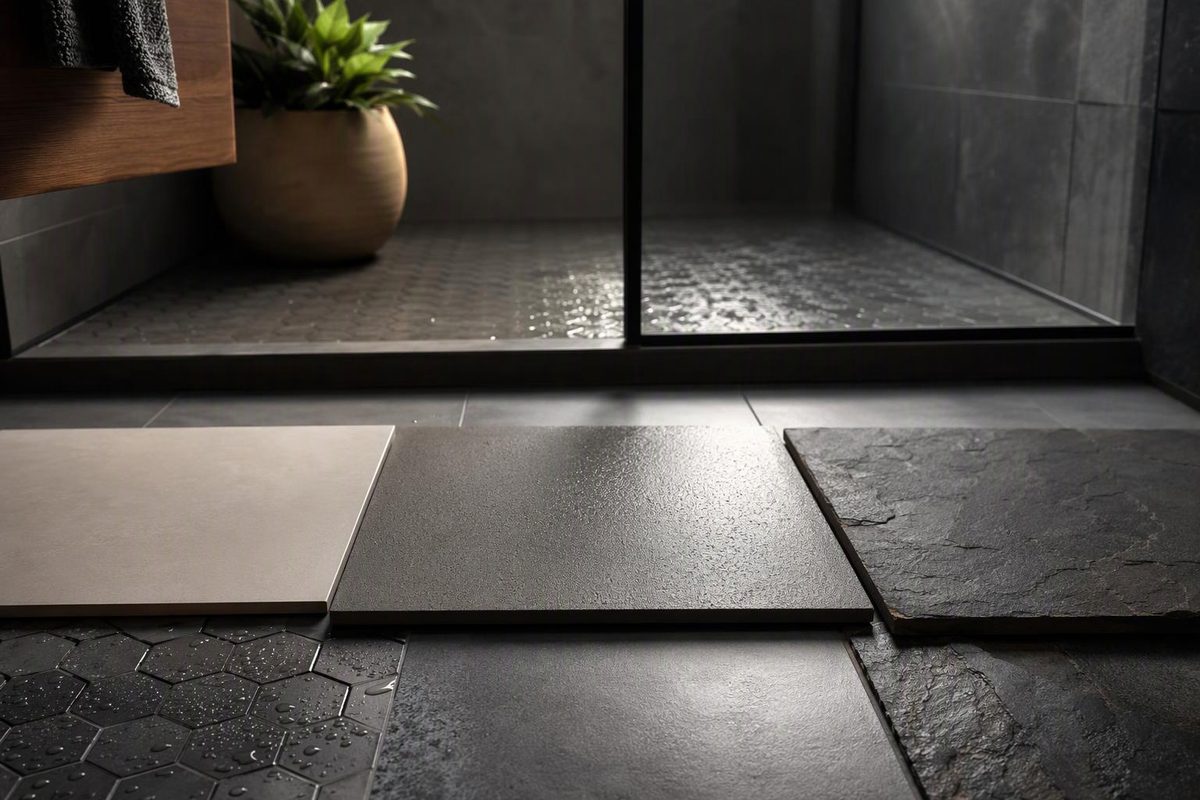
For bathroom tile flooring outside the shower, floor-rated porcelain approved by its manufacturer for wet interior use is a sensible starting point. Choose the exact product and finish—not just a “porcelain,” “matte” or “bathroom tile” label—and confirm that the floor beneath it supports the specified installation.
The shower floor needs a separate approval. Its tile must suit barefoot wet use, drainage slopes and the waterproof shower assembly. A tile suitable beside the vanity is not automatically suitable inside the shower.
Select the location, documented tile approval and assembly status to see what must be resolved before ordering.
Check the exact size and finish, including floor use and expected wet or barefoot conditions.
Include the substrate, tile-format compatibility, water management and finished-height details.
Hold Tile Ordering
Obtain floor-rated, wet-interior approval for the exact tile and finish. Verify the installation assembly before ordering.
Outside the shower, determine waterproofing needs from the selected system and local requirements. Tile alone is not a waterproof assembly.
What Counts as Documented Approval
For the main floor, confirm floor use and suitability for expected splashes and wet feet. For a powder room, confirm floor use and suitability for its expected cleaning and water exposure. For a shower or wet room, obtain explicit approval for that use, including barefoot wet conditions.
A wet DCOF of 0.42 or greater is commonly cited for level interior floors walked on when wet; it is not a universal shower-floor threshold. Matte appearance and small tile size do not establish suitability.
Assembly verification means matching the actual substrate and chosen tile to system instructions, resolving known defects, and specifying water-management and transition details. This checker cannot inspect the floor or certify an installation.
Sources: Crossville and Daltile wet-traction guidance; Schluter installation and waterproofing instructions cited in the article.
The Tile’s Location Determines Its Requirements
A powder room has no shower or tub, but plumbing leaks and cleaning water remain possible. In a main bathroom, select for splashes and wet feet near the tub or shower exit—not just the usually dry area around the vanity.
For a shower floor or wet room, plan the waterproofing, drain, slopes and tile together. With a curbless shower, settle the transition into the rest of the room before ordering materials. The boundary between the shower and bathroom floor affects both water management and finished height.
Tile is the wearing surface, not the whole water-management system. A ceramic or stone tile covering is not inherently a waterproof assembly. A shower needs a system that manages water beneath the tile and connects properly to the drain. Schluter’s shower-system explanation describes both traditional lined pans and bonded waterproofing systems.
Porcelain Is a Starting Point, Not an Approval
| Material | Reason to Consider It | What to Verify |
|---|---|---|
| Porcelain | Low water absorption | Floor and wet-use approval; exact finish’s traction information |
| Non-porcelain ceramic | Generally easier to cut than porcelain | Floor-use rating and surface durability |
| Natural stone | Natural variation and a distinctive surface | Wet-area approval, substrate requirements and care instructions |
Porcelain is a type of ceramic tile defined by water absorption of 0.5% or less. Non-porcelain tiles span a wide range of properties, so neither label replaces a product specification. The Tile Council of North America’s comparison also notes that porcelain is generally harder to cut and bond.
Check the exact size and finish you intend to buy. A product family’s appearance or material description does not establish that every version is suitable for your floor.
If you want a marble appearance without stone-specific upkeep, start with a stone-look porcelain tile. If you choose real stone, obtain its care instructions before committing. Daltile recommends stone-specific neutral cleaners and warns that even diluted vinegar can etch many stones, particularly marble and limestone. Sealing provides stain protection; acid etching is damage to the surface, not simply a stain. See its natural stone care guidance.
Wet Traction Needs Product-Specific Evidence
Ask for the exact size and finish’s DCOF, or dynamic coefficient of friction, information and manufacturer use designation. Describe whether the floor will be used barefoot and how wet it will get. A matte-looking surface is not proof of wet-use suitability.
A wet DCOF of 0.42 or greater is the commonly cited minimum for tile recommended for level interior floors walked on when wet. It is not a universal shower-floor threshold or a promise against slipping. Standing water, slope, contaminants, maintenance and footwear also affect suitability. Crossville’s DCOF explanation explains those limits.
For shower floors, seek explicit manufacturer approval for that use. Small tiles can accommodate slopes more easily and provide frequent grout joints, but size alone does not establish safety. Daltile advises against polished surfaces in areas exposed to water and emphasizes that no floor tile is slip-proof. Its selection guidance is a useful check against choosing by appearance alone.
The Subfloor Must Match the Chosen Assembly
Before buying tile, identify the substrate and investigate soft areas, noticeable movement, moisture damage or existing cracks. Resolve those conditions before covering them. A tile choice cannot compensate for an unsuitable base.
On a wood-framed floor, record the panel material, thickness, layers and joist spacing. Match those details to a documented installation assembly rather than assuming that an existing floor is ready for tile.
Requirements can change with the covering. For example, Schluter’s DITRA natural-stone detail requires a double-layer wood floor regardless of joist spacing, while some ceramic and porcelain details permit a single layer. The system also requires leveling before membrane installation and retains movement-joint requirements. These are DITRA-specific details, not specifications for every tile floor. Check the DITRA installation handbook against the actual floor and covering.
Mosaics need a compatibility check, too. Schluter lists a minimum tile format of 2 × 2 inches for DITRA and DITRA-XL; smaller formats require consultation about installation requirements and warranty eligibility. Do not assume any small tile can go over any membrane. See the DITRA product instructions.
Use the tile subfloor guide to work through the assembly, and the membrane selection guide to distinguish waterproofing from uncoupling or crack isolation.
Waterproofing Requires Sealed Connections
For a main bathroom floor outside the shower, check the chosen system’s instructions and applicable local requirements. Schluter says waterproofing is not required for ordinary DITRA floor installations, but can be beneficial over moisture-sensitive substrates. Making that installation waterproof requires sealing seams and floor-to-wall connections—not simply laying the membrane. Its floor-waterproofing guidance applies to that system, not to every bathroom assembly.
Ask how the specified waterproofing handles corners, penetrations and the doorway. Do not assume a waterproof floor can contain an unlimited plumbing leak.
For a shower, include a water test before tile hides the waterproofing. Follow the system’s curing and testing instructions and applicable local requirements. Schluter describes a typical 24-hour test and recommends waiting at least 24 hours after setting KERDI before beginning it under normal curing conditions; colder conditions may require longer. The waiting period and test duration are separate. See its shower water-test instructions.
Specify the Finished Floor Before Comparing Quotes
Get a written specification that identifies the exact tile, size, finish and approved uses. It should also cover substrate repairs and preparation, underlayment, waterproofing extent, compatible mortar and grout, and movement joints. For a shower, include transition details and water testing.
Resolve finished height at the doorway, toilet flange and shower entry before committing to the assembly. Those connections need to work with the complete floor build-up, not just the thickness of the tile.
Compare quotes against that same specification. The cheapest tile is not necessarily the least expensive bathroom floor once preparation, waterproofing and detail work are included.