
Kitchen Floor Tile: Choose by Specs, Surface and Subfloor
Choose kitchen floor tile by floor-use rating, wet traction, cleanability, format and subfloor—not color alone. Includes a practical buying checklist.
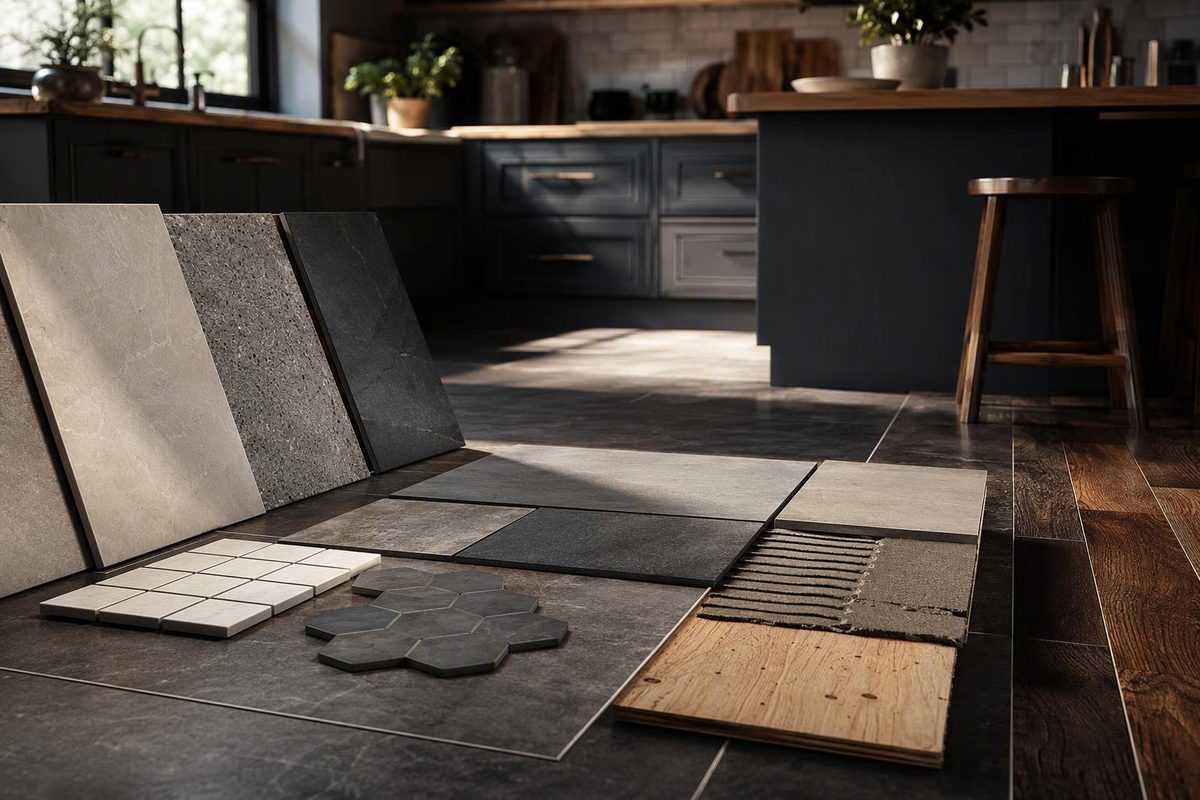
For many homes, a matte or lightly textured, floor-rated porcelain tile is a practical kitchen choice. It resists water absorption and comes in stone, wood, concrete and patterned looks. But porcelain is not automatically right for every kitchen: the exact tile still needs a suitable floor-use classification, cleanable surface and compatible installation assembly.
Use this sequence before committing to a color or pattern.
1. Eliminate tile that is not documented for floors
A coordinated collection may contain porcelain floor tile, ceramic wall tile, mosaics and trim that do not share the same construction or ratings. Check the technical sheet for the exact size and finish—not merely the collection page.
Start with products the manufacturer identifies for residential floor use. If the kitchen floor is likely to be walked on while wet, look for an ANSI A326.3 Interior Wet (IW) classification. IW requires a wet dynamic coefficient of friction (DCOF) of at least 0.42 under the specified test, unless the product is manufacturer-declared for that use. The standard also requires the final selection to account for traffic, expected contaminants, maintenance, wear and manufacturer guidance (TCNA’s A326.3 explanation).
DCOF helps compare surfaces, but it does not predict whether someone will slip. Water, grease, cleaning residue, footwear and maintenance all affect traction. No floor tile is “slip proof,” and polished or semipolished finishes are a poor default where water or cooking residue may occur (Daltile’s DCOF guidance).
Stop if: the seller cannot provide documentation confirming floor use for the exact product.
2. Choose the material by upkeep and installation
| Tile type | Where it can fit | Check before buying |
|---|---|---|
| Porcelain | Busy kitchens and households wanting broad design choice with low tile absorption | Surface traction, edge finish, cutting requirements and whether the color is through-body or surface-applied |
| Nonporcelain ceramic floor tile | Residential kitchens when the exact product is approved for floors | Do not confuse it with wall tile; verify application and wear information for the exact SKU |
| Natural stone | Owners who accept natural variation and stone-specific care | Stone type, finish, sealer guidance, stain and acid sensitivity, and any additional substrate requirements |
| Terracotta or quarry tile | Rustic designs where color and surface variation are intentional | Porosity, sealing, cleaning requirements and floor-use guidance |
Porcelain belongs to the ceramic tile family and is defined by water absorption of 0.5% or less (Why Tile’s porcelain guide). That low absorption does not make the finished floor waterproof. Grout joints, penetrations, edges and transitions remain parts of the assembly.
Natural stone requires a more deliberate maintenance decision. The Natural Stone Institute says acidic products can dull or etch calcareous stone. An impregnating sealer can improve stain resistance, but it does not make stone stain-proof (Natural Stone Institute care guidance). Lemon juice, vinegar and cooking oil make those distinctions relevant in a kitchen.
For natural variation without stone-specific care, compare the graphics, repeat frequency and edge treatment of stone-look porcelain tile. For a genuinely earthen surface, review the sealing and installation implications of terracotta tile.
3. Balance traction against cleanability
A highly polished floor can be troublesome around the sink and dishwasher. At the other extreme, deep clefts and aggressive texture can retain flour, grease and mop residue.
A useful compromise is often a matte or lightly textured surface that is approved for the application but can still be wiped clean. Inspect a full tile rather than a small display chip. On a spare sample, test representative kitchen soils and clean them only as the manufacturer directs. This compares maintenance; it does not replace certified traction data.
Also inspect:
- Variation: Strong variation can conceal crumbs but may look very different across a full floor. View several pieces from multiple cartons.
- Surface relief: Pronounced ridges can complicate cleaning and chair movement.
- Color and sheen: Dark glossy tile tends to show dust and dried droplets; very pale grout may show cooking soil quickly.
4. Match tile size to the actual floor
Large-format tile reduces the number of grout joints but is less forgiving of a wavy substrate. Flatness, mortar coverage, pattern offset, grout-joint consistency and lippage become important installation controls for large tile (TCNA’s 2025 tile guidance). Rectified edges reduce dimensional variation; they do not justify an arbitrarily narrow joint.
Before choosing a format:
- Map the visible floor after cabinets and islands are placed.
- Dry-plan the layout through doorways, along cabinet runs and around the island.
- Avoid repeated sliver cuts at room edges.
- Record the required substrate flatness and grout-joint width.
- For long rectangular tile, follow the tile manufacturer’s permitted offset; a half-offset layout can emphasize lippage when pieces are bowed.
Small mosaics can follow minor contours more readily and provide more grout joints, but those joints also add cleaning work. Complex patterns increase layout time and waste. Compare the whole project rather than carton price alone; the flooring installation cost guide explains how preparation, waste and trim affect the total.
5. Approve the floor assembly before ordering
Tile is rigid. A cracked, loose, uneven or moisture-troubled base does not become sound when covered with backer board or a membrane.
Identify whether the kitchen is over concrete, plywood or OSB, plank decking, or an existing floor. Then check structural support, panel condition, flatness, cracks, moisture exposure and finished height. Preparation depends on the complete assembly; use the subfloor-for-tile guide to establish the starting point.
An uncoupling or crack-isolation membrane may address a defined movement risk, but it will not flatten a wavy floor. Select a tile underlayment membrane by function rather than treating every membrane as equivalent.
Waterproofing also requires a complete detail, not merely a waterproof-sounding tile or membrane. For example, Schluter requires DITRA seams and floor-to-wall transitions to be sealed with KERDI-BAND where a waterproof floor is needed (2025 DITRA handbook). Follow the chosen system’s current instructions rather than mixing convenient details from different systems.
Movement accommodation still matters. Perimeter joints must not be filled rigidly against walls or other restraining surfaces, and DITRA does not eliminate movement joints within the tile field (Schluter movement-joint guidance).
Stop if: the floor feels springy, panels are water-damaged, cracks have vertical displacement, moisture has no identified source, or the planned buildup interferes with doors, appliances or transitions. Resolve those conditions before selecting mortar.
6. Specify grout and maintenance with the tile
Grout is part of the kitchen-floor decision. Choose a product compatible with the tile, joint width, expected soils and cleaning routine. A mid-tone color close to the tile often disguises ordinary soil better than bright white or a sharply contrasting joint. Mock up tile, grout and sealant together because grout color can change the floor’s overall appearance.
Do not assume every grout needs sealer or that sealing makes joints stain-proof. Cementitious, premixed and epoxy grouts have different installation, curing and cleaning requirements. Verify that the selected mortar, grout, membrane and sealant are mutually compatible, then record each manufacturer’s cure and return-to-service limits.
Kitchen tile buying checklist
Before paying a deposit, record:
- manufacturer, collection, color, finish, nominal size and SKU;
- confirmation that the exact product is approved for a residential kitchen floor;
- ANSI A326.3 product-use classification and wet DCOF data, where reported;
- ceramic or porcelain designation and water-absorption information;
- edge type, shade variation and recommended grout width;
- required substrate flatness, mortar, trowel and installation method;
- underlayment, waterproofing and movement-joint details;
- grout type, compatible sealant and cleaning restrictions;
- finished height at doors, appliances and adjoining floors; and
- extra tile from the same production lot for future repairs.
Choose color and pattern only after the product’s documentation, surface and installation assembly fit the kitchen.