
How to Refinish Engineered Hardwood Safely
Verify remaining real wood, moisture stability, damage depth and coating compatibility, then choose the least aggressive treatment that meets your goal.
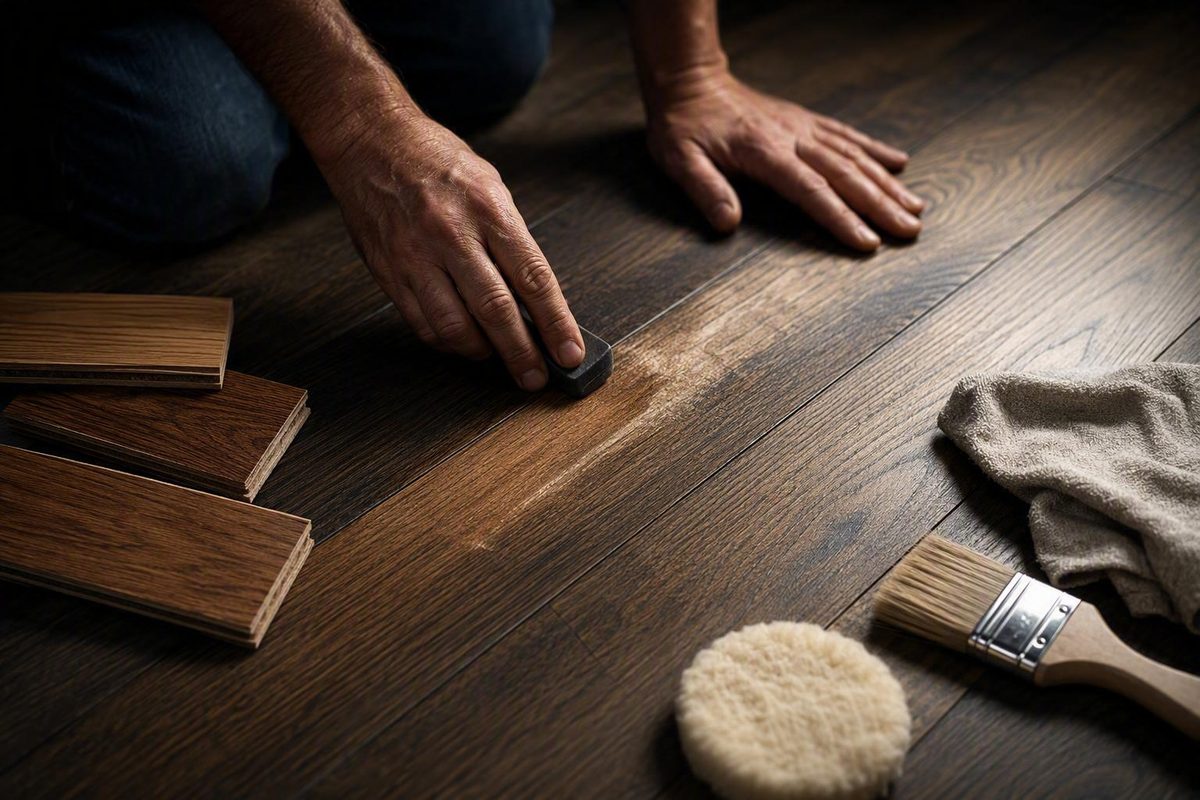
Many engineered hardwood floors can be refinished, but not all can be sanded safely. The decision depends on how much real wood remains above the plywood or HDF core, whether the floor is dry and stable, how deeply the damage extends, and whether the existing coating can accept a recoat. Verify those conditions first, then choose the least aggressive treatment that can deliver the result you want.
The short answer: verify the floor before anyone sands it
Engineered hardwood has a real-wood surface bonded over a layered core. That surface may be thick enough for full refinishing—or so thin that sanding through the finish exposes the core.
The National Wood Flooring Association defines refinishing as sanding a previously finished floor to bare wood and then applying new stain or finish. A screen-and-recoat instead abrades the existing coating so it can accept another compatible coat, without intentionally exposing bare wood. These treatments have different capabilities and risks, even though both are sometimes described casually as refinishing. The distinction and engineered-floor benchmarks appear in the NWFA Engineered Wood Flooring Refinishable Program.
| Floor condition and goal | Safer starting option | What it can accomplish |
|---|---|---|
| Adequate real wood remains; floor is dry, stable, and sound | Full refinish | Removes the existing finish, permits broader damage correction, and allows a stain change |
| Finish is intact but dull or lightly scratched | Screen-and-recoat | Renews sheen and light coating wear without deliberately exposing bare wood |
| Severe damage is limited to one or a few planks | Localized plank repair | Repairs or replaces the affected area while preserving most of the floor |
| Wear layer is inadequate, or failure is widespread | Replacement | Addresses core damage, delamination, deformation, or a floor that cannot spare more wood |
Two rules should control the first decision:
- Do not sand until the remaining wear layer has been verified.
- Do not treat unresolved moisture or structural damage as a cosmetic finish problem.
Sanding through the hardwood veneer exposes plywood, HDF, or another core material. Stain and finish cannot conceal that breakthrough. The affected plank—or the floor, if the damage is extensive—may then require replacement.
Measure the wear layer that remains—not just the original specification
Only the top real-wood layer is available for sanding. The core provides much of an engineered plank’s structure, but it is not a refinishing reserve.
For conservative screening, use these NWFA voluntary certification benchmarks:
- Factory-finished smooth engineered flooring: at least 2.5 mm of wear layer.
- Sculpted or distressed flooring: at least 2.5 mm at the lowest point, not at the top of a ridge.
- Newly installed unfinished smooth engineered flooring: an initial wear layer of at least 3.2 mm.
The unfinished-floor benchmark is higher because the initial sanding and finishing performed after installation consume some wood. The NWFA’s explanation of the program also gives a general instruction not to sand flooring below 3/32 inch. The program separately states its factory-finished benchmark as 2.5 mm; 3/32 inch converts to about 2.38 mm, so the figures should not be treated as an exact unit conversion.
Applying 2.5 mm to the wood remaining in an installed floor is a conservative evaluation screen derived from the NWFA program benchmark. It is not a guarantee that a particular floor with that measurement can be sanded. Deep damage, waviness, prior sanding, or a difficult factory coating may still make the project unsafe.
Some manufacturer and contractor guidance permits highly controlled work at around 2 mm. That is less conservative than the NWFA benchmark and belongs in a high-risk, product-specific assessment zone—not a universal permission to sand.
Most importantly, the original product specification does not establish how much wood remains today. A previous sanding may have removed an unknown amount. Measure or document the installed floor rather than relying only on its thickness when new.
Use this verification order:
- Identify the exact product. Check installation records, cartons, plank labels, invoices, and current manufacturer instructions.
- Inspect a leftover plank. Its cross-section can show where the hardwood ends and the core begins.
- Examine an exposed installed edge. Check a floor register, threshold, transition, doorway, or accessible board edge.
- Request professional measurement. Do this when the product, layer boundary, or sanding history remains uncertain.
A leftover plank confirms original construction, but it cannot reveal material previously removed from the installed floor. An exposed installed edge is therefore more useful when it can be inspected without damaging the flooring.
An NWFA Certified Refinishable designation means that a qualifying product met the voluntary program’s original construction requirements. It does not certify the current condition or remaining thickness of a floor that has been installed, worn, or refinished.
Check condition before choosing a surface treatment
First separate cosmetic wear from floor failure. Dullness, fading, shallow coating scratches, and ordinary traffic wear may be restoration candidates. Movement, swelling, or separation between layers requires diagnosis and repair before cosmetic work.
Stop the assessment and investigate if you find:
- Buckled or lifted boards
- Persistent cupping or crowning
- A swollen plywood or HDF core
- Veneer delamination, bubbling, or layer separation
- Spongy or flexing areas
- Loose or unstable boards
- Exposed plywood or HDF
- Visible fasteners
- An exposed tongue
- Ongoing dampness, staining, or evidence of an unresolved leak
Correct the moisture source before considering sanding. A previously affected floor also needs time to dry and stabilize. Sanding a deformed surface too soon can flatten raised areas while the boards are still changing shape. Contractor guidance on refinishing versus replacing a damaged floor likewise identifies buckling, persistent deformation, delamination, core swelling, exposed tongues, and visible fasteners as reasons to stop or consider replacement.
A thick wear layer is not enough by itself. A wavy floor may require excessive removal from high spots. Deep gouges or widespread damage may demand more sanding than the remaining veneer can tolerate, and prior sanding reduces that reserve further.
Evaluate textured flooring separately:
- Hand-scraped surfaces may lose their carved character.
- Wire-brushed surfaces may become smooth or unevenly textured.
- Sculpted and distressed boards vary in thickness across their faces.
- Bevels may become shallow or inconsistent.
For these products, the thinnest point controls the sanding margin. A nominal measurement taken on a ridge can be misleading.
Selective board replacement also depends on access. Identify the installation method and map the damaged area before promising that one plank can be exchanged neatly.
If sanding unexpectedly reveals plywood, HDF, or another core material, stop immediately. Further sanding will enlarge irreversible damage.
Choose the least aggressive method that can deliver the result
Match the treatment to both the defect and the desired appearance.
| Symptom or goal | Starting treatment | Important limitation |
|---|---|---|
| Dull but intact finish | Screen-and-recoat | Requires a clean, compatible coating |
| Shallow scratches confined to the coating | Screen-and-recoat | Will not remove scratches that enter the wood |
| Bare wood or deep gouges | Local repair or full refinish | Full sanding requires adequate remaining wood |
| Unwanted stain color | Full refinish, if qualified | A meaningful color change normally requires bare wood |
| One severely damaged plank | Selective replacement | The patch may remain visible |
| Widespread delamination or deformation | Repair or replacement | A surface coating cannot correct structural failure |
A screen-and-recoat is the logical first option when the finish is intact but tired. It renews the coating rather than correcting the wood beneath it. It cannot erase dents, deep gouges, exposed-wood damage, strong wear patterns, or the existing stain color.
Changing stain normally requires sanding to bare wood, consuming more of the limited wear layer.
For isolated severe damage, replacing a plank may preserve more of the original floor than heavily sanding the entire room. The replacement can still stand out because species, grade, grain, bevels, texture, age, stain, and ultraviolet fading may differ. Broader recoating or refinishing may reduce a sheen mismatch, but it cannot guarantee an invisible patch.
Choose repair or replacement rather than cosmetic treatment when there is widespread core swelling, buckling, delamination, structural movement, or too little real wood for the required sanding.
Coating chemistry matters too. Hard factory finishes containing aluminum oxide can complicate abrasion. Identify the finish system, clean it appropriately, and perform a product-compatible adhesion assessment before recoating; guidance on restoring factory-finished engineered hardwood discusses both coating hardness and compatibility.
What a cautious refinishing plan should include
Once the floor qualifies, follow a documented sequence rather than a generic sanding recipe:
- Record the condition. Document wear-layer measurements, damaged areas, exposed edges, movement, bevels, and texture.
- Clear and contain the room. Remove furniture and rugs, isolate adjacent spaces, and plan dust collection.
- Clean and dry the floor. Residue and trapped moisture can interfere with abrasion and coating adhesion.
- Complete appropriate repairs. Stabilize repairable boards and address isolated defects without treating filler as a substitute for structural work.
- Sand under controlled conditions. Match the equipment and abrasive strategy to the veneer, flatness, coating, texture, and intended result.
- Remove dust thoroughly. Residual dust can affect appearance and adhesion.
- Test optional stain. Use a spare plank or inconspicuous area to judge color on the actual species and prepared surface.
- Apply a compatible protective finish. Stain changes color; it does not replace the protective coating.
- Follow the product label. Observe its application conditions, recoat intervals, ventilation requirements, and return-to-service schedule.
Do not transfer a solid-hardwood drum-sanding sequence directly to engineered flooring. Veneer depth, floor flatness, coating hardness, texture, and damage vary too much for one machine or grit progression to be universally safe.
Stain is optional and is generally used when changing color or creating a particular decorative effect. After preparation—and after stain, if selected—the wood still needs a compatible protective finish.
Water-based finishes are generally faster-drying and lower in odor. Oil-modified polyurethane is generally slower-curing, stronger-smelling, and more amber in appearance. Neither category is automatically the most durable choice for every room, floor, or maintenance pattern.
Treat the schedule as separate milestones:
- Active preparation and coating work
- Time between coats
- Light foot traffic
- Furniture return
- Rug return
- Full cure
These intervals are not interchangeable. A floor may accept cautious foot traffic before it is ready for furniture, rugs, ordinary cleaning, or full use. The selected finish manufacturer’s label controls each milestone.
Use dust containment and equipment-appropriate ventilation, respiratory protection, eye protection, and hearing protection. Follow equipment and coating labels for respirator selection, ignition precautions, ventilation, and re-entry, and keep other people and pets out for the required period. Lowe’s hardwood refinishing safety guidance supports these basic precautions while treating its detailed sanding process as one for solid hardwood—not a universal engineered-floor procedure.
Before sanding, chemical preparation, recoating, or board replacement, check the flooring manufacturer’s instructions, finish-system requirements, and applicable warranty terms.
Professional or DIY—and what the estimate should document
Full sanding of engineered flooring is an advanced, high-consequence project. Professional assessment is the safer choice when any of these remain uncertain:
- Current wear-layer thickness
- Previous sanding history
- Moisture condition
- Floor flatness
- Intentional texture or bevel depth
- Existing coating chemistry
- Depth of damage
- Installation method
Professional work does not eliminate risk, so the proposal should explain how the floor was assessed. Avoid estimates based only on room size and the word “engineered.”
Ask each refinisher:
- What remaining thickness did you measure, and where?
- How did you distinguish the hardwood layer from the core?
- Does the floor appear to have been sanded before?
- What condition requires full sanding instead of recoating?
- How much material do you expect the work to remove?
- How will you handle bevels, wire brushing, scraping, or distressing?
- How will you identify the existing coating and test compatibility?
- What dust collection and containment are included?
- What happens if the veneer is breached, and who is responsible?
- What are the projected recoat, traffic, furniture, rug, and full-cure milestones?
Request separate pricing for board repairs, sanding, stain, the finish system, dust containment, trim work, furniture moving, and disposal. That makes competing estimates easier to compare and exposes differences in scope.
Hallmark Floors gives approximately $3–$8 per square foot as a broad professional refinishing range, while contractor guidance describes some full refinishing projects as taking roughly three to five active workdays, followed by finish-specific curing time. These are planning figures, not national quotes or promised schedules. Condition, repairs, geographic market, access, finish selection, and project size can materially change both; Hallmark’s engineered-floor refinishing overview provides the cost range and emphasizes product-specific return-to-service times.
Five example floors and the safer starting decision
1. A roughly 1 mm veneer with an intact but dull finish
Do not sand it to bare wood. Hallmark’s manufacturer guidance says veneers of 1 mm or less should not be sanded because of the risk of reaching the core. Identify the existing coating, clean it appropriately, and investigate a compatible screen-and-recoat.
2. A factory-finished floor with at least 2.5 mm remaining, cosmetic wear, stable boards, and no moisture problem
Professional full refinishing may be feasible. The 2.5 mm figure matches the NWFA’s conservative factory-finished certification benchmark, but it is not automatic approval for an installed floor. Confirm that the measurement represents wood remaining today, then assess coating hardness, flatness, texture, and damage depth.
3. A nominal 2 mm veneer with unknown sanding history
Treat it as high risk. Commercial contractor guidance describes work around 2 mm as possible only with careful sanding, while the measurement remains below the more conservative NWFA screen. Seek a product-specific assessment rather than assuming another sanding is available; Hudson Hardwood’s wear-layer guidance illustrates this cautious treatment of the 2 mm range.
4. A thick wear layer with buckling, sponginess, or a swollen core
Do not sand. Find and correct the moisture or structural cause, allow the floor to stabilize where appropriate, and assess board repair or replacement. Surface thickness does not make a failed core suitable for cosmetic refinishing.
5. One deeply damaged plank in an otherwise sound room
Evaluate selective replacement first. Confirm how the floor is attached and whether the plank can be removed without spreading damage. Then decide whether localized finishing, a room-wide recoat, or full refinishing is justified to reduce color and sheen differences.
The compact rule is: adequate remaining wood permits evaluation, not automatic approval.
How many times can engineered hardwood be refinished?
There is no reliable thickness-to-refinishing-count formula. The answer depends on how much real wood remains before each project and how much must be removed to flatten the floor, clear the old coating, correct damage, or change color.
A thick, flat wear layer with superficial damage may retain more future margin than a thinner, uneven floor with deep gouges. Prior sanding and intentional texture reduce what remains. Published practitioner estimates vary, so original thickness should not be converted into a promised number of sanding cycles.
Reassess the remaining layer before every full sanding. A certification mark or thick original veneer may support the evaluation, but neither proves that another cycle remains.
Can you reliably tell whether an engineered floor was sanded before?
Sometimes there are clues, but appearance rarely establishes the complete history. Look for shallow or missing bevels, reduced texture, uneven board edges, sanding marks near walls, stain remaining in low areas, exposed fasteners, or a wear layer thinner than a verified spare plank.
None of those signs reveals exactly how much wood was removed. Records from the owner, installer, or manufacturer may help, but an exposed installed cross-section and professional measurement provide better evidence than appearance alone.
Identify the exact product, verify the real wood remaining, rule out moisture and structural failure, and select the least aggressive treatment that can achieve the desired result. If thickness or sanding history remains uncertain—especially near 2 mm—pause before abrasive work and have a qualified refinisher document the floor’s condition and expected material removal.