
Underlayment: Choose the Right Layer for Your Floor
Choose underlayment for laminate, vinyl, engineered wood or tile. Check attached pads, moisture protection, flatness and thickness before buying.
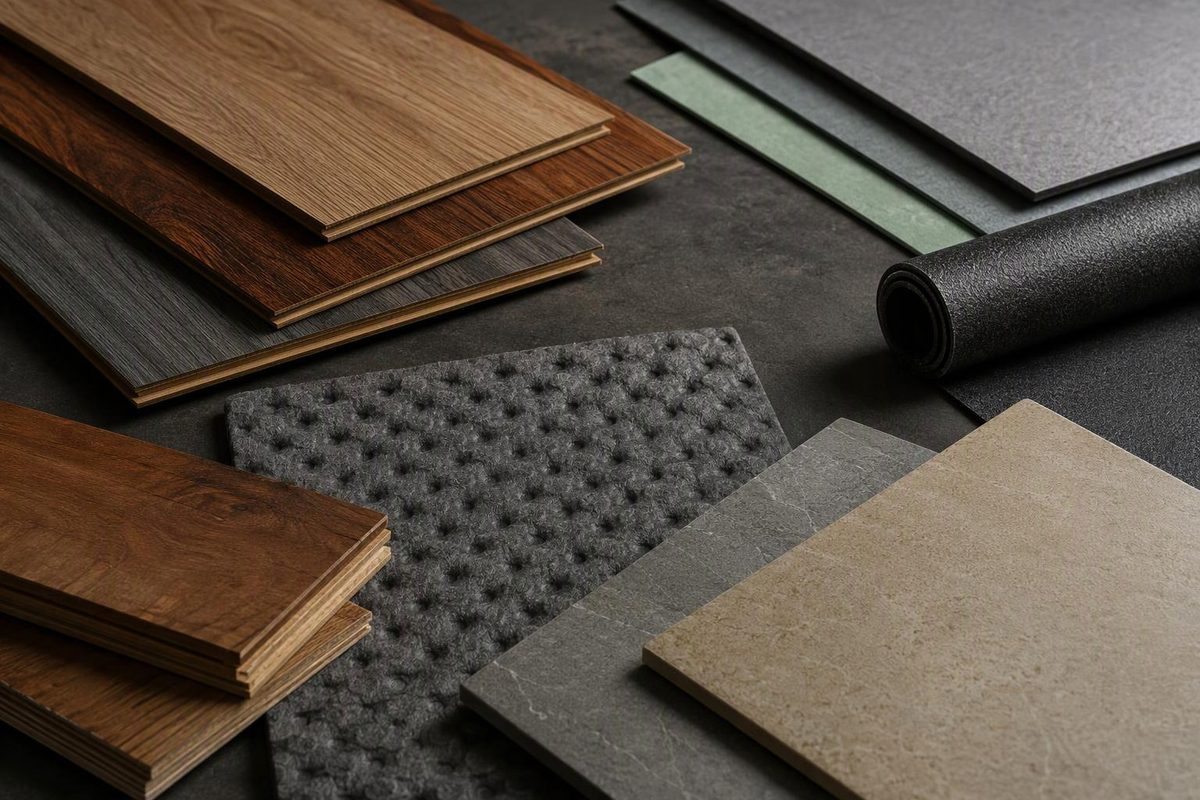
The right underlayment is the one approved for your exact flooring and installation method—not necessarily the thickest or softest option. Some floors need a separate pad; others have one attached. Tile and glue-down vinyl need different kinds of preparation altogether.
Underlayment is a layer beneath the finished flooring and above the supporting subfloor. Depending on the assembly, it may provide cushioning, sound reduction, a smoother bonding surface, moisture protection or separation from substrate movement. Those functions are not interchangeable: a foam pad is not a tile membrane, and an attached pad is not automatically a vapor barrier.
Start with the floor, not the roll of padding
Before buying, identify:
- The exact flooring: brand, collection and product number—not just “vinyl plank” or “wood.”
- The installation method: floating, glue-down, nail-down or mortar-set.
- The substrate: concrete, plywood, OSB or an existing floor covering.
- Room conditions: below-grade location, moisture history, radiant heating and any building sound requirements.
- An attached backing: check the plank underside and the matching installation instructions.
Use the flooring instructions to establish what is allowed, then check the underlayment instructions for compatible substrates and installation details. If they conflict, get written clarification before proceeding.
Match underlayment to the flooring system
Laminate: check the attached pad first
For laminate without an attached pad, expect to use a manufacturer-approved floating-floor underlayment. Do not assume an extra layer is needed beneath padded planks.
For example, the Mohawk RevWood Premier installation guide hosted by Georgia Carpet specifies a single appropriate underlayment no thicker than 2 mm for planks without attached underlayment. It separately calls for a 6-mil polyethylene vapor barrier over concrete. A mil is one-thousandth of an inch, not a millimeter. Those are RevWood Premier requirements, not universal laminate specifications.
Click-lock vinyl: extra padding is product-specific
An attached pad does not give a universal yes-or-no answer. Check whether the exact product permits another layer, including its thickness and material restrictions.
COREtec Pro SPC guidance, for example, allows a second underlayment up to 3 mm in residential applications beneath currently sold resilient products with attached underlayment. It says testing to date on certain products has not shown an additional acoustic benefit. It also warns that soft substrates can compromise locking ability and indentation resistance, and excludes crumb-rubber underlayments because of chemical incompatibility.
The practical lesson: do not borrow laminate padding specifications for vinyl, or stack pads simply to make the floor feel softer.
Engineered wood: floating and bonded floors differ
A floating engineered-wood installation may use a separate pad and moisture-control layer. A glue-down installation instead needs a compatible bonding assembly; a nail-down installation needs the specified substrate, fastening and any approved intervening layer.
The May 2026 Briarwood engineered-flooring instructions illustrate the distinction: their floating method specifies foam underlayment and polyethylene over on- or below-grade concrete, with a two-in-one underlayment option. Their glue-down method bonds the boards to the prepared substrate.
Do not insert a loose floating-floor pad beneath a glue-down floor. For the broader method decision, see when engineered hardwood can be floated.
Glue-down vinyl and sheet vinyl: prioritize a smooth, compatible surface
Here, “underlayment” may mean a rigid panel or an approved surface-preparation material rather than cushioning. The surface must support the floor without visible texture, unstable joints or substances that interfere with adhesion or stain the vinyl.
Armstrong Flooring’s panel guidance requires panels designed for resilient-flooring underlayment, with a smooth face, resistance to concentrated loads and installation according to the panel manufacturer. Its listed panel requirements should not be applied indiscriminately to every rigid-core vinyl product.
For preparation and bonding details, follow the glue-down vinyl installation guide.
Tile: choose a tile assembly, not a cushioning pad
Tile underlayment may include a backer board or a membrane selected for the substrate and intended function. Uncoupling, waterproofing and sound control are different requirements.
Schluter’s DITRA instructions require a clean, even, load-bearing substrate. For waterproofing, the seams and floor-to-wall transitions need the specified sealing treatment; simply laying the membrane does not complete the waterproof assembly.
Start with the subfloor requirements for tile, then choose a tile membrane by function.
Stop if moisture or flatness is unresolved
Do not cover a leak, damp subfloor or unstable substrate with underlayment and hope it disappears. Even waterproof flooring does not make excessive moisture beneath it harmless. COREtec’s guidance explicitly warns about trapped moisture, mold and mildew, requires concrete moisture testing and prohibits installation over concrete with a history of high moisture or hydrostatic conditions. It also says not to apply sheet plastic over wood subfloors. Follow the moisture-control instructions for your actual assembly—not a blanket “plastic under everything” rule. Source: COREtec
Check flatness with a straightedge using the span and tolerance in your flooring manual. Soft padding is not a substitute for correcting high spots and depressions. RevWood Premier, for example, specifies correcting the substrate to within 3/16 inch over a 10-foot span before installation. That is a product-specific limit, not permission to bridge dips with extra foam. Source: RevWood Premier guide
Before disturbing existing resilient flooring or old adhesive, resolve any asbestos uncertainty. Do not sand or dry-scrape those materials as routine preparation; COREtec’s removal warning calls for presuming asbestos is present unless the material is known to be asbestos-free.
Before ordering
Record the approved underlayment product, maximum thickness, moisture-layer requirement and seam treatment. Check the combined finished height at doors, transitions and appliances. If sound control is required, ask for documentation for the relevant floor assembly rather than relying on a “quiet” label.
Once the substrate passes inspection, install the layer as specified: panel fastening, pad joints, vapor-barrier overlaps and membrane bonding each have their own rules. Buy the layer that completes the approved assembly; do not add layers to compensate for preparation the floor still needs.